If you’ve ever looked around your classroom and thought, “There has to be a better way than everyone sitting in the same desk all day,” flexible seating might be exactly what you’re looking for.
I’ve used flexible seating in my classroom with a lot of success, and while it does take intentional planning, the payoff is huge. Students feel empowered, engaged, and more in tune with their own bodies—and the classroom environment benefits because of it.
Let’s break down what flexible seating actually is, why it works, and step-by-step how to implement it successfully in your own classroom.
What Is Flexible Seating?
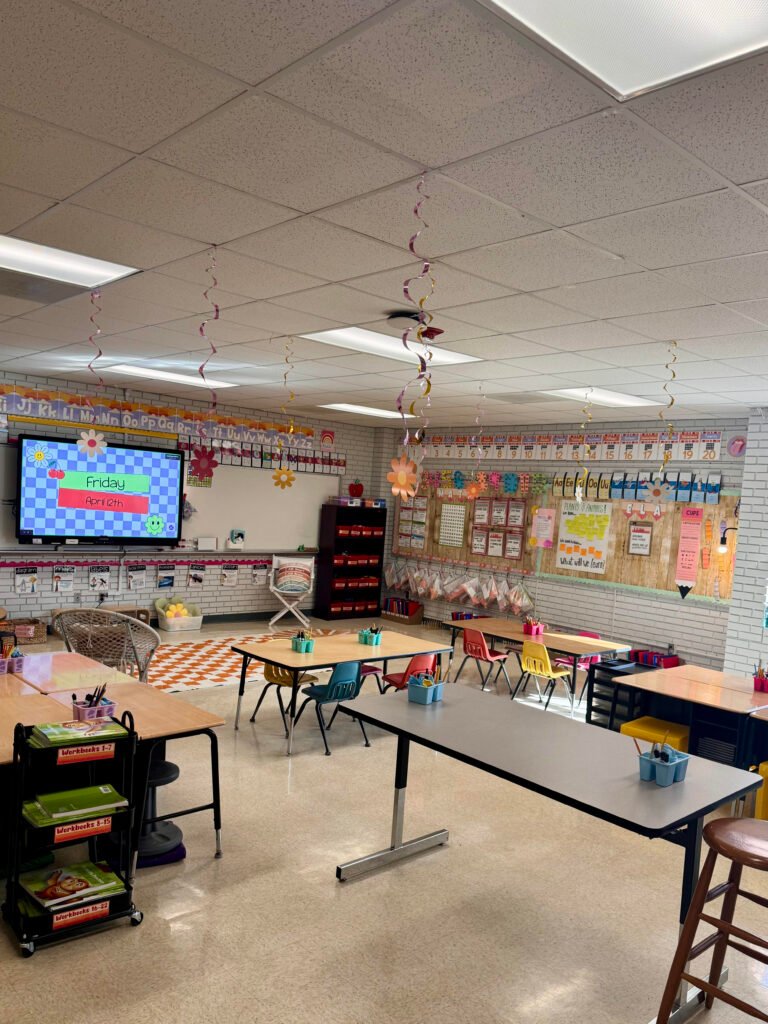
Flexible seating is a classroom setup that gives students choice in where and how they sit throughout the school day. Instead of traditional desks for every student, classrooms include a variety of seating options that support different learning styles, body needs, and levels of movement.
The key word here is choice. Students are trusted to select a seat that helps them focus, feel comfortable, and do their best learning.
Why Flexible Seating Benefits the Classroom
Flexible seating isn’t about being trendy, it’s about meeting students’ needs.
Some of the biggest benefits I’ve seen:
- Increased student engagement and focus
- Fewer power struggles around seating and behavior
- Students taking ownership of their learning environment
- Improved self-regulation and body awareness
- A calmer, more collaborative classroom culture
When students are allowed to move, adjust, and choose what works for them, they’re more likely to stay on task and less likely to act out simply because their body needs something different.
Step-by-Step: How to Implement Flexible Seating
Step 1: Purchase or Seek Out Seating Options
You do not need a huge budget to get started with flexible seating. Start small and build over time.
Some budget-friendly flexible seating options you can find on Amazon include:
- Wobble stools
- Balance ball chairs or balance balls with bases
- Floor cushions or floor pillows
- Wobble cushions that sit on regular chairs
- Lap desks
- Low stools or crate seating
- Bean bags or soft seating (check fire code guidelines)
You can also:
- Ask parents for donations
- Use DonorsChoose (this is how I got started!)
- Repurpose items you already have (old coffee table that’s sitting in the basement?)
- Slowly add pieces each year
👉 Tip: You don’t need one of every option. A few different choices go a long way.
Step 2: Set Up More Seats Than You Have Students
This step is crucial.
Always have more seating options than students. This ensures that:
- The last student choosing doesn’t feel stuck
- Students aren’t forced into a seat they don’t want
- Choice remains authentic
When students know they’ll still have options, the entire process feels calmer and more respectful.
Step 3: Decide on Your Rules (and Keep Them Simple)
When I first started using flexible seating, I had very explicit rules for each seating option, complete with posters hanging around the room.
That was helpful in the beginning, but over time, I realized I could simplify.
Eventually, all seating rules boiled down to two statements:
- Choose a seat that is best for you and your body.
- Use your seat appropriately.
That’s it.
Simple, clear, and easy to reference in the moment.
Step 4: Create Seating Choice Groups
To keep seat selection fair and conflict-free, I grouped students into small groups (about 5 students per group).
For example:
- Group 1
- Group 2
- Group 3
- Group 4
Each morning, I would call groups to choose their seats, but on a rotating basis.
Example rotation:
- Day 1: Group 1 → 2 → 3 → 4
- Day 2: Group 2 → 3 → 4 → 1
- Day 3: Group 3 → 4 → 1 → 2
This system ensures that everyone gets a fair chance throughout the week to choose their first-choice seat.
Step 5: Explicitly Teach and Model Every Seating Option
This is one of the most important steps, and one that cannot be rushed.
Set aside time to:
- Show each seating option
- Model how to use it appropriately
- Have students model appropriate use
- Show examples of inappropriate use
- Clearly explain consequences
When I used flexible seating, my system was:
- One warning
- If it happened again, the student moved to a regular desk and chair
Here’s the key: STICK TO YOUR CONSEQUENCE.
If students know you won’t follow through, inappropriate behavior will continue, and with certain seating options (like balance balls), that can become unsafe.
Consistency is what makes flexible seating work.
Step 6: Implementation (Give It Time!)
Here’s the truth:
It will not run smoothly on day one—and that’s okay.
At first, students will choose seats because they look cool or fun. That’s normal. Over time, something amazing happens: they start choosing what actually works for their body!
After a couple of weeks, I could almost predict exactly where each student would sit, and it was usually the perfect fit for them.
My Morning Routine:
- Students entered and sat on assigned spots on the rug
- This avoided conflict and helped mornings run smoothly
- After the bell:
- Attendance
- Lunch count
- Daily schedule
- (I’d sneak in a math problem or Wordle)
- Then I called groups to choose seats
Students knew:
- They were choosing a seat for the entire day
- The process should be quick
From start to finish, everyone was seated in about two minutes.
Step 7: Create Strong Organization Systems
No desks means systems are everything.
Here’s what worked in my classroom:
- Book boxes on one wall for:
- Library books
- Fluency folders
- Journals
- Bins around the room for:
- Math workbooks
- ELA workbooks
- A shared bookshelf for reading books
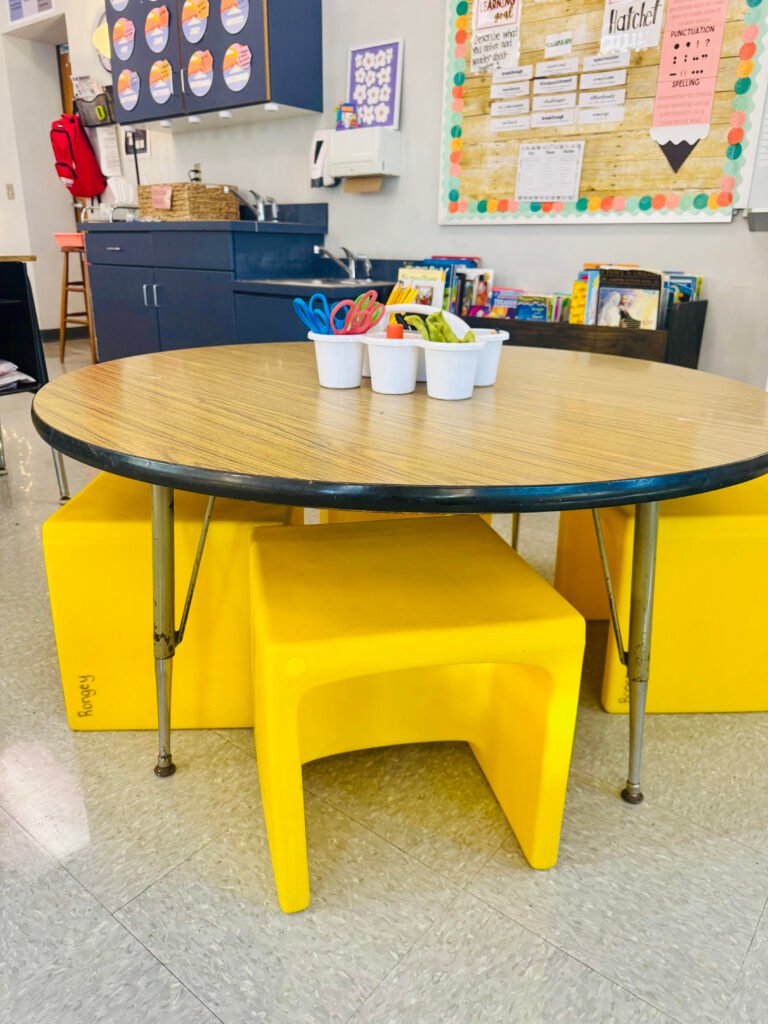
- Communal supplies at each table or area:
- Pencils
- Scissors
- Glue sticks
- Dry erase markers
- Erasers
- Communal bins for:
- Markers
- Crayons
- Colored pencils
- A hydration station for water bottles
Students visited the hydration station as needed, rather than keeping bottles at their seats.
Yes, it takes time to set up.
Yes, it takes time to teach the routines.
But once those systems are in place?
The classroom runs smoother than ever.
Final Thoughts
Flexible seating isn’t about getting rid of desks—it’s about giving students ownership of their learning and their bodies.
When done intentionally, it creates:
- A positive classroom culture
- Increased engagement
- Students who feel trusted and respected
I’ve had so much success using flexible seating, and I truly believe it can be a game-changer when implemented thoughtfully.
If you’re on the fence, start small, stay consistent, and give it time to work. Your students will surprise you.